
This article is not a step by step guide to Harbor Freight Cement Mixer Assembly, you can get that in the video below, but rather extra tips I learned from the install and first use of my 3.5 cubic foot mixer.
First off, in the event you lost your instructions here is a link for an online copy of the PDF from Harbor Freight – it is copy written, so I am just providing a link.
Next realize that for around $20 you are not getting heavy duty metal. However, this does have some good reviews on many of the harbor freight sites. Additionally I have found that if you take reasonable precautions, the mixer is well worth the money.
You want to make sure you have metric tools. You will also need:
- slip ring pliers
- Loctite
- gasket compound
- larger wheels
- a wood block
- a couple of lag bolts
I also found that a length of pipe helps with assembly of the Harbor Freight cement mixer.
Harbor Freight Cement Mixer Build Tips
When putting the mixer together, the drive shaft is already assembled. As far as our build went we had to remove the slip rings in order to install the motor mount case, and on the other side the dump control lever. We did not have slip ring pliers so we had to modify a pair of needle nose pliers, and reinstall them by using a pipe over the shaft and knocking the ring back in. This was due to quality control issues so your mileage may vary.
Also, on the drive shaft, when you bolt on the cast iron pulley, and the gear that turns the mixer tub, use Loctite, and you may want to consider buying two lock washers and adding them.
When we were using this in the dome build, the bolts backed out twice. That ended up losing the keyway and rendering the mixer unusable.
While you have the Loctite out, remove the small screws holding the case on the electric motor. I did not notice at the time of the first use, but later
I saw that most of the bolts backed out, and the last one was hanging on by just a few threads.
When putting the tub together, it is easier to use gasket compound to hold the rubber gasket on the tub. I forgot to get some (it was recommended in several videos). During assembly I found that since many of the bolt holes punched in the gasket were a little off, if I pushed the bolts through the tub, the gasket would hold them on and the bolts would hold the gasket on flat.
When putting the motor together, and working the electrical, I found it was much easier to unbolt the switch housing from the casing in order to more easily make the electrical connections.
The hardest thing to do was figure out the mixer blades. The instructions were very poor translations from the original Chinese. After much discussion, and trying various ways, we realized that there were stickers on the tub that helped. If the arrows on the top half and the bottom half lined up, and you used the third arrow to find the direction of rotation, it was much easier to figure out what is happening. Remember the blades scoop up the cement as it rotates, and then dumps the mix at the top of the rotation.
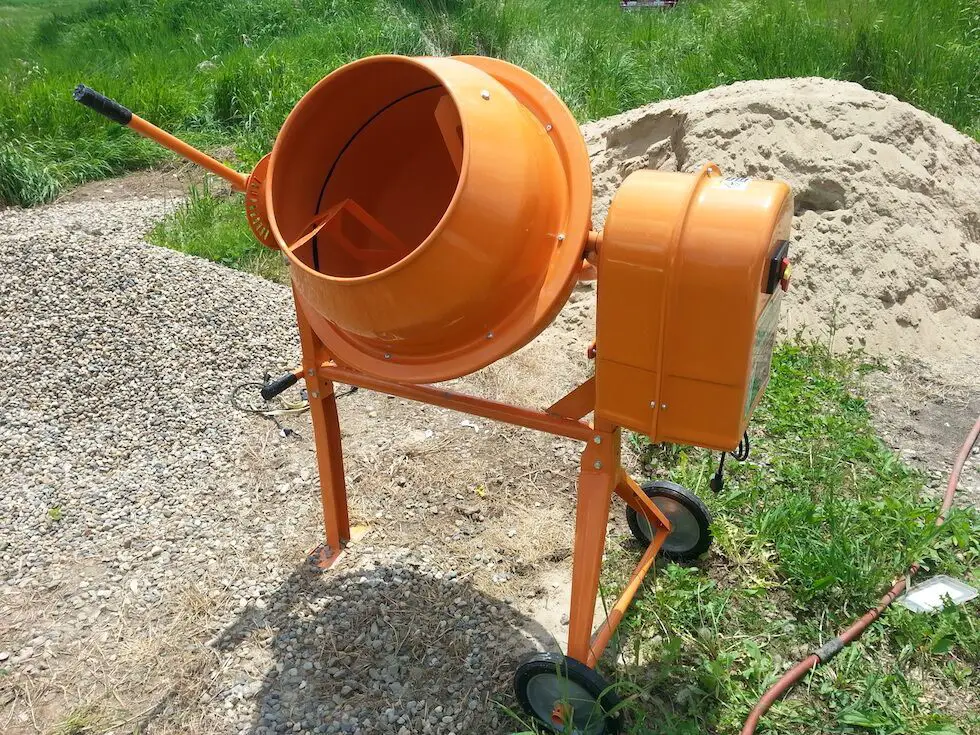
Lastly, the wheels are not big enough to raise the mixer high enough to dump in a wheel barrow. I suggest you get a set of 10 inch air filled tires while you are at harbor freight. Bolt an 8 inch 4×4 n to the foot on the other end of the mixer.
It only took an hour or so to put the mixer together, and our first use was pretty rigorous. In my opinion, this is a harbor freight tool that is worth the time and the money.