
You will never find this Oven Canning technique in a USDA or National Center for Home Preservation website; there are just too many variables to say that the process works 100% every time with every food type.
However, if you reread the section on food safety and see that for botulism to grow it needs moisture as well as anaerobic conditions.
That means that the only items you should oven can should be dried. This makes it really good for items like pancake mix or flour.
This process should not be used with wheat berries or anything you plan on sprouting as the temperatures will most likely kill them. Luckily the process will kill any meal worms or other insects that tend to infest (and have allowable levels by FDA standards) wheat or flour process.
What happens is, the heat kills any live infestations, and as the air expands with the heat it is pushed out of the jar, so as it cools, the lids will seal creating a good vacuum seal – which prevents any moisture or bacteria from entering.
Equipment:
- Canning jars
- Canning lids and screw bands
- Wide mouth funnel
- Dried goods
- White rice, oats, and other grains
- Beans and lentils
- Flour
- Baking mixes
- Spices, salt, baking soda, etc.
- Oven
- Potholders and towels
Procedure:
- Preheat oven to 2000 Fahrenheit
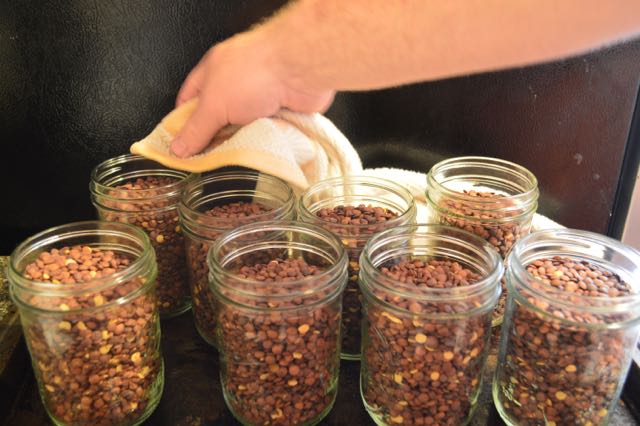
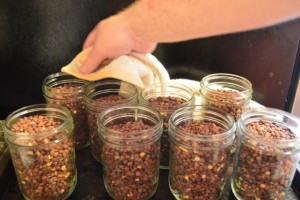
- Fill your sterile canning jars with dried goods, leaving 1/2″ head space. Do not put lids on yet
- Place in oven and heat for one hour
- Use pot holders or towel to remove jars from oven
- Quickly wipe rim of jar with damp (but not dripping) towel
- Place metal canning lid on jar and screw metal band on tightly
- Return jars to oven and set timer for 30 minutes
- Remove jars from oven and allow to cool
- Check lids for tight seal
Yield:
Variable
Notes:
Do not use plastic canning lids
Oven canning is not a safe method of preserving anything other than dried goods. Do NOT use this method for canning wet foods such as fruits, vegetables, or meats unless they have been thoroughly dehydrated. Be sure to label your jars with the contents, date canned, and how to prepare.
Once your jars of dried goods have cooled, and you checked the seal to ensure it “popped” store them in a cool, dark, and dry location. The seal will prevent moisture from getting into the jars, but moist air will rust metal canning lids and bands.
Whole grains store better than grains that have been ground into meal or flour.
If you are canning baking mixes. Ensure they do not contain shortening (it will melt), oil (will turn rancid), brown sugar (has moisture).