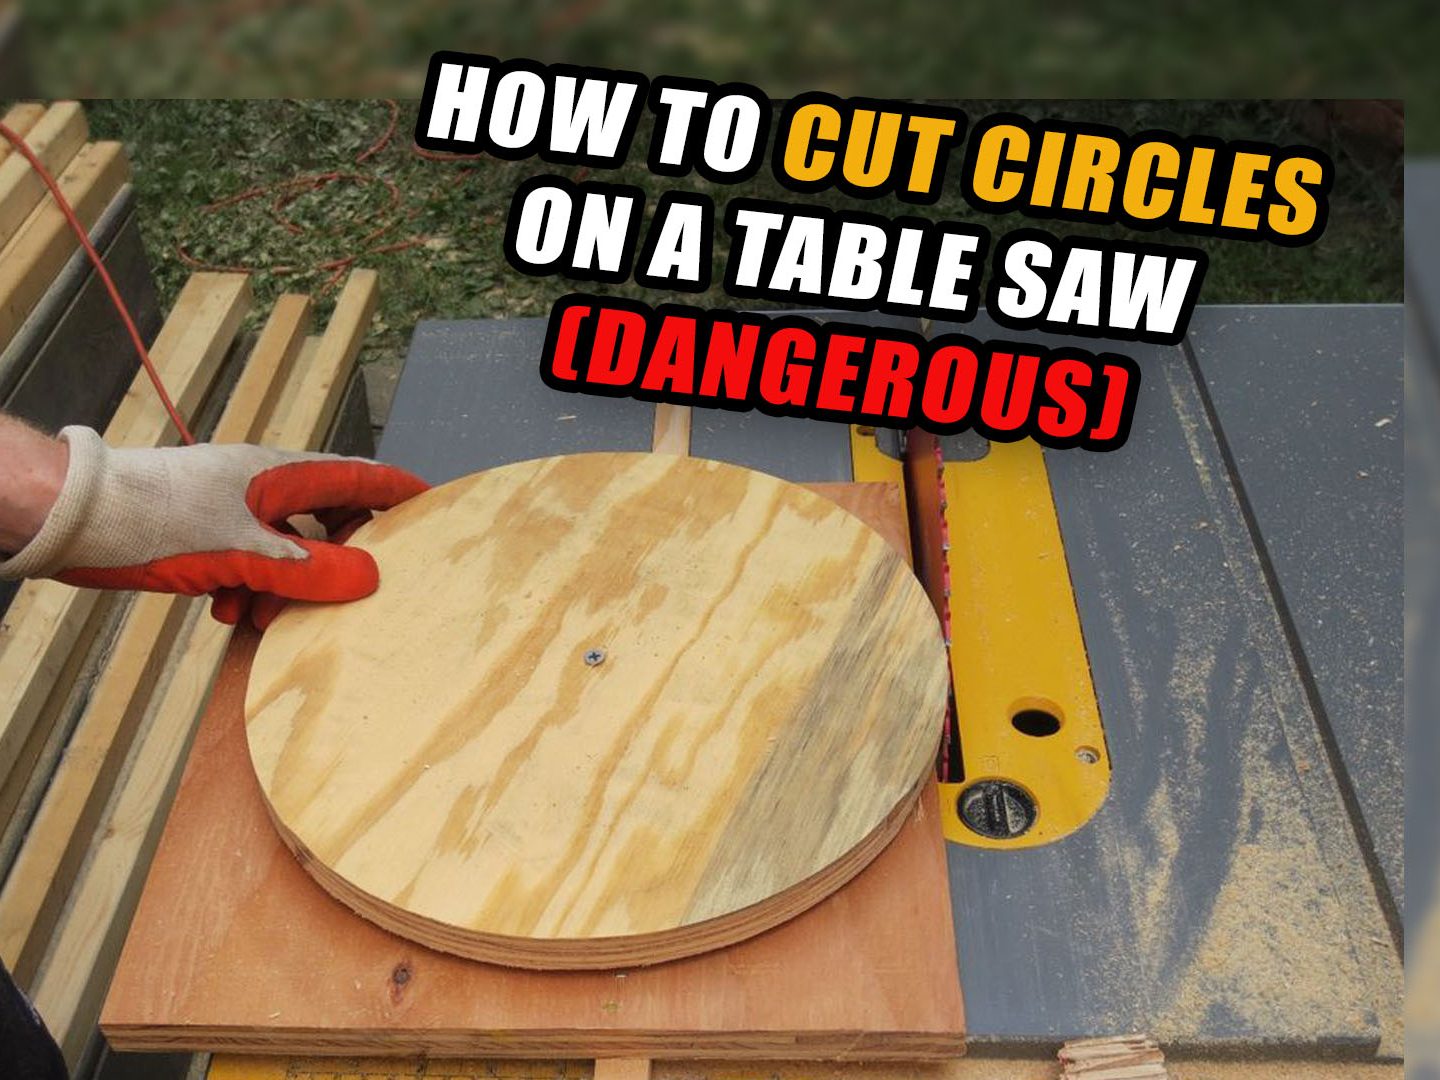
This post might not be best called how to cut circles on a table saw, but rather, how not to. This is a dangerous method and I don’t recommend it, but sometimes you may need this method and if you choose to use it be well aware of how dangerous it is.
I am by no means a skilled woodworker. I wish I was as both my Grandfathers were highly skilled in the construction trade, but as a kid I was more interested in goofing off. If you watch my video below, you can tell that some of my safety procedures are lacking, so please don’t imitate me, cutting off a finger constitutes a bad day.
Dangerous, But Useful When Needed
HOWEVER, the technique I show is useful, and if you have your safety guards in place on your table saw, and use a better sliding table you can accomplish the same thing much safer.
I needed to cut some circles so I could build my Gingery forge, and my shop is very limited with tools so I needed to find a work around. After a little internet research and looking into my old Audel’s books I discovered a solution. You can cut circles from squares using a table saw. All you need is a sliding table with a pivot point for a square of wood sized for your circle.
Make a Slide Table
My table saw is old and very inexpensive, so I had to make a sliding table by cutting down two pieces of 1×2 to act as runners. I nailed a piece of wood across the runners as they sat in the slots along side my blade. I then turned on the saw and cut about a third of the way through the center board. Now I have a very cheap sliding table.
Once that is done to cut a circle you need a square of wood the size you want for the finished circle. If you want a 12 inch diameter circle you need a 12 inch square block of wood. Insert a pivot pin in your sliding table the same distance away from your blade as the radius of the circle. So for a 12 inch circle, drive a nail 6 inches away from the cut in your sliding table. This pivot point should be on one side of the blade (imagine a line from your pivot point to the cut you made in the table – the line should intersect perpendicular to the cut.)
Cut Corners (Literally)
Pound the center of your wood square onto your pivot point and ensure that it rotates freely.
Line up your square so that you will cut off one corner of the square. Turn on the saw and slide the table to the blade and cut off each corner of your square.
Once you have cut those corners, cut off the 8 new corners, then the 16 after that. With each cut you will have a more rounded shape. Depending on the size of the wood, and your blade, soon you will be able to rotate the piece into the blade and actually trim it round. Just make sure you keep your fingers well away from the blade and don’t rush.
You will be amazed at how easy this is to do. If you have any other cool shop tricks, please feel free to make a comment. My next trick will most likely involve turning a drill press into a lathe.
