
Spoon carving is one of those things that can be very elegant and skill intensive. Alternatively, it can be simple and functional.
There are a lot of specialized tools available and much in the way of instructions online.
Today I just want to go into the basics of spoon carving. I don’t have a lot of instructions here. This is so that someone that is interested can start, but not be overwhelmed.
The tools needed are pretty simple and inexpensive as spoons have been hand carved for thousands of years.
As I showed in my 52 Prepper Project for Kids book, the depression can be burned out with coals. However, most use hook knives.
You Do Not Need Much to Start
Simply purchase a curved hook knife like the one shown from amazon. You will also need a simple knife, some sandpaper, and a little bit of edible oil. That is all that is truly necessary if you are carving from a blank.
A pencil and a small axe are helpful.
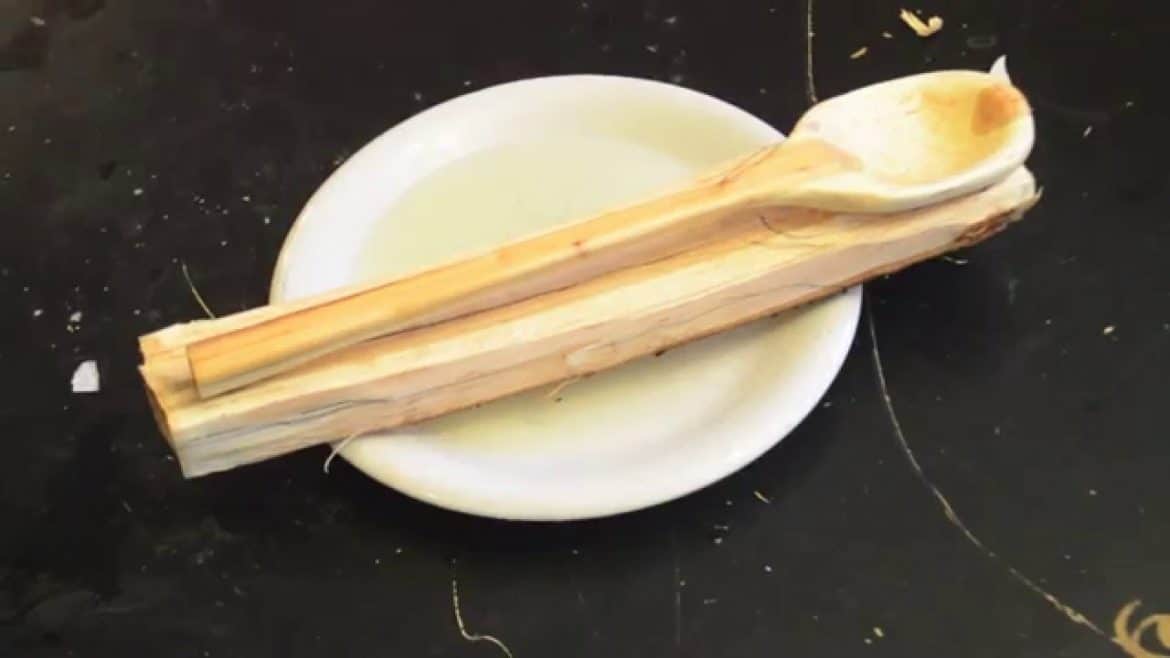
Start by designing your spoon and drawing the rough outline on the blank. I like to start with the bowl. This is because I don’t want to spend time carving down the handle and then ruin the spoon during the depression carving.
Once the bowl is formed I carve around it to form the rounded spoon form.
The last carving step is to trim down the handle. That is the simplest part. Also, I like having the leverage of the thick wood blank as I form the spoon head.
Once the spoon is fully carved, sand down the spoon. That is to remove the tool marks and make it smooth.
Let it dry slowly and then coat with an edible oil to protect it.
Do not use oils like olive oil as they go rancid with time. Many like to use tung or walnut oil, but some are allergic to nut oil. In the spoon pictured above I used normal canola oil from the grocery.