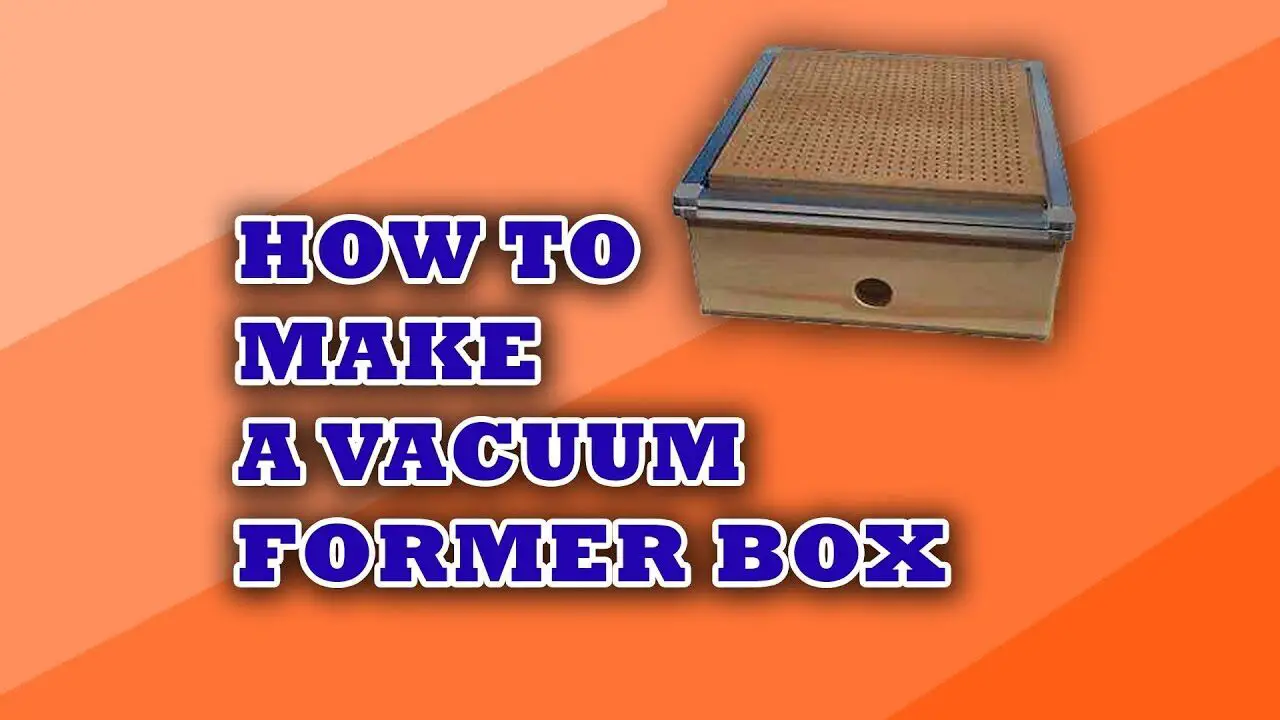
Vacuum forming is something I have wanted to play with for some time.
The storm trooper uniforms from star wars are vacuum formed. Many molds – especially for candy- are vacuum formed. What I want to be able to do is form holsters and project boxes to custom specifications. Because of this I had to make a DIY Vacuum Former.
The way vacuum forming works, is that you have a box (called a platen) that has a top full of holes – this box is built to draw a vacuum (hobby platens normally use a shop vac). The second piece is a frame to hold a sheet of thermoplastic.
Whatever you want to mold is set in the center of the platen, the plastic and its frame is heated until the plastic is pliable, and then the hot plastic is set over the platen. A vacuum then pulls the plastic down and over your part, very cleanly and clearly reproducing it in the plastic.
Once cooled, the plastic part is trimmed from the sheet and is ready to be used.
Constructing the Vacuum Forming Box
I used a piece of pegboard to form the top of my platen, and just built a frame out of scrap 2×4. Next, I used a piece of plywood for the base, and used calk to seal everything.
I drilled a hole in the center of the front of the 2×4 frame so I could insert the hose from a large shop vacuum.
For the frame, I bought two sheets of 1/8 board, and drew increasingly small square about 2 inches wide. I cut out each square out of each of the two boards, making several sets of frames.
To use, I put the plastic over one frame, and then bolt the second over the first board.
My idea is that when molding something small, I can set the biggest frame along the outside, and then use each smaller frame inside the larger one until I get to the size I need. The intent is to reduce the amount of exposed holes to maximize vacuum. In practice, I just cover the unused space with duct tape.
I think that in vacuum forming, making the platen a size you will use is more efficient, than making a monster frame for small projects.
As we get time I want to use this to make several other projects, most notably a bedside holster.
