
This project on how to convert a 2 cycle engine to steam has been one of my favorites so far. When I first saw this concept, I was a little overwhelmed. I thought it was magic. I believed that anyone that could convert an internal combustion engine to steam had to be a genius. By the time I had enough confidence to try it I found it to be simple.
Safety First
I need to say this upfront. This project used steam under pressure; therefore there is an element of danger to this. Steam engines cannot be safely run unattended. If you are going to build this or any other steam project you must use common sense. Please work carefully.
I should address the question my wife, mother, and coworkers have asked repeatedly. That question is “WHY”.
Well, the most obvious answer is I think it is cool. What I tell my wife is that a steam engine gives me a power source that does not need oil based fuel. I can go out and cut wood and convert wood into electricity. While this is not as efficient as a purpose built steam engine and boiler or a wood gas system it is much cheaper and simpler to build.
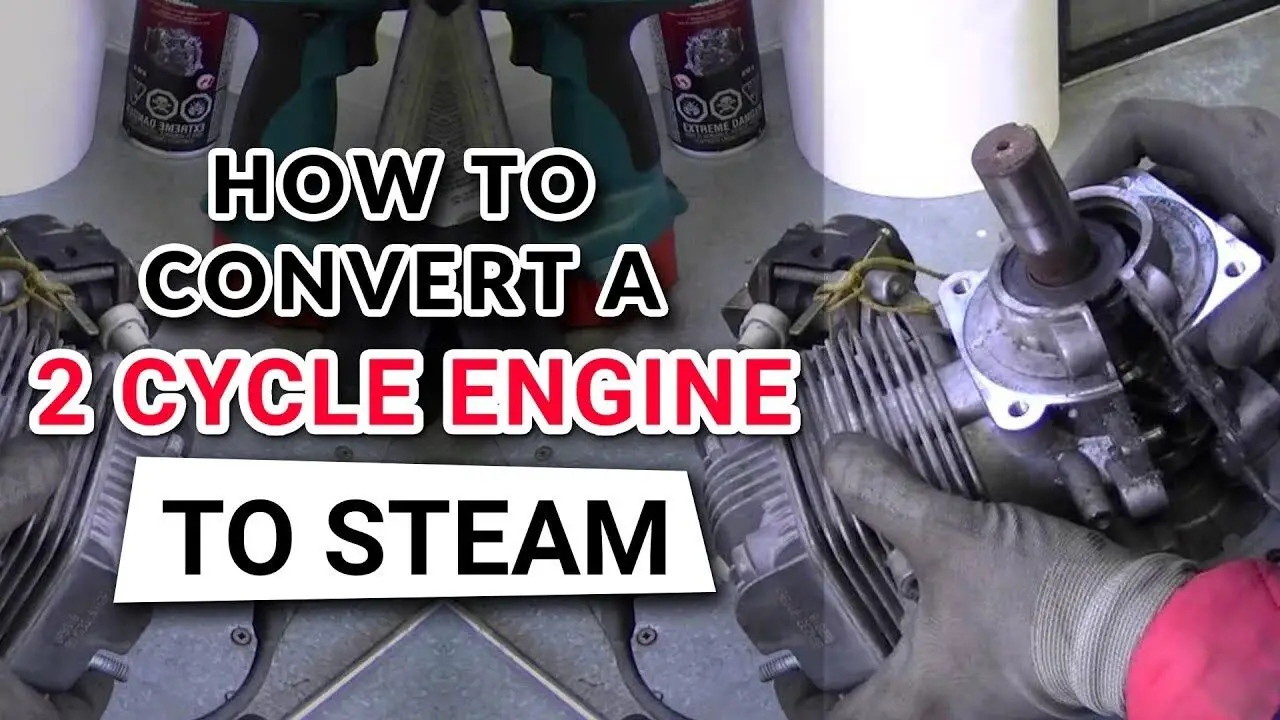
Parts Needed to Convert a 2 Cycle Engine to Steam
To make this project you need three components: a boiler, an engine, and a generator. We will cover the boiler and generator in later posts.
The engine uses a salvaged weed-eater, but most any engine will work. Especially if you understand the process and can adapt to overcome. I used a weed-eater because it was free and the simplest to convert. You will also need a ¾ brass check valve, a pushrod, and miscellaneous plumbing bits and pieces.
The idea is to create a single acting steam engine (meaning the steam only acts on one side of the piston). I do this by using a push-rod inserted through the spark plug hole. This rod pushes open a the check valve when the piston is at Top Dead Center (TDC). This allows steam will push the piston down just like the gas explosion does when it was a internal combustion engine.
The Process
The first thing to do is strip your weed-eater down to bare block. Just start unscrewing stuff, but leave the internals alone.
You will need to keep the flywheel attached to the engine, as you will need the weight to return the piston to TDC. Otherwise the engine will quit. I plan on casting a new flywheel (formulas for this can be found in Steven Chastain’s book on inverters and generators), I just haven’t gotten to that yet. Find a pipe nipple that will screw into the spark plug hole.
Your check valve will screw onto the other end of the nipple, but first you need to take some measurements. You have to create a rod that is long enough to push the check valve open when the piston is at TDC. It also has to be long enough to keep a portion of the rod in the pipe nipple so it does not fall into the combustion chamber, yet still be short enough to let the valve close as soon as the piston starts to move. If it is too long or too short the engine will either lock up or be hard to start.
An easy way to measure would be to screw everything together and measure the exposed length of pipe (that way you don’t have to keep track of the amount that is threaded). Unscrew everything and rotate the piston to TDC. Insert a rod to measure from TDC to the top of the spark plug hole. The last measurement is from the bottom of the check valve to its open position. You do this by taking your measuring rod and pushing the valve open. Add the three together and that should be the length of your pushrod.
Personally, I added a tiny bit to the measurement to account for my problem with attention to detail, and then used a file to custom fit everything. I kept assembling the engine and rotating the crankshaft to check if it would open the valve and cycle smoothly. To make this simpler I used a piece of old ink pen shaft as my push rod. The idea I would measure it when I got the dimensions correct and make a new rod out of a metal rod. In actuality, I just glued a carpentry nail inside the plastic shaft and am pretty pleased with the results.
The only other mechanics you will need to do to the engine itself is to adapt the top of the check valve to fit a steam line. I just screwed in an air chuck quick connect so I can use an airline, but I am sure you can use a metal line if that makes you more comfortable.
Starting the Engine
To start the engine you have to add the steam and then somehow turn the flywheel to start the process. I am not happy with this procedure. Mostly because I am afraid I may end up hurting myself when everything starts to move. However, so far I haven’t had any Tex Grebner moments…
To be quite honest, converting a steam engine in this manner is relatively cheap. Even buying everything new, I am still around $50.00 with the $30.00 check valve being the most expensive part. It is also a lot easier than I imagined. However, learning about steam generation has caused me a lot of anxiety. Research has taken up the most time in this project.
Creating steam, especially under pressure, is dangerous. A mistake in this process turns into bomb pretty quickly, and a leak can actually melt your face off. I have decided to totally separate the boiler discussion into its own post.