I like dehydrating food, sometimes because it makes food storage easier, and sometimes (like in the cases of apples or meat) I like eating dehydrated food.
The devils of food storage are:
- Heat
- Light
- Oxygen
- Moisture.
Dehydrating helps increase shelf life because many organisms (like Botulism) cannot thrive in dry spaces. If you vacuum seal moist food and botulism is present,the bacteria grow and create enough toxin to kill.
However, if you vacuum seal food with less than a 10% moisture level the bacteria stays dormant. So it does not produce toxins. This works well for things that you don’t want to super heat using a pressure cooker.
I have a pretty good electric dehydrator that I use to make jerky and other dried foods. However, it is small and takes up valuable kitchen space when it’s working. Besides that, my wife doesn’t sleep very well if I try to leave it running overnight. She worries about the catching the house on fire.
Research
Build it Solar was first resource I found online, and I went there quite a bit. The idea of the J R Whipple solar dehydrator is really cool, but I wanted it in wood. Root Simple also provided some ideas.
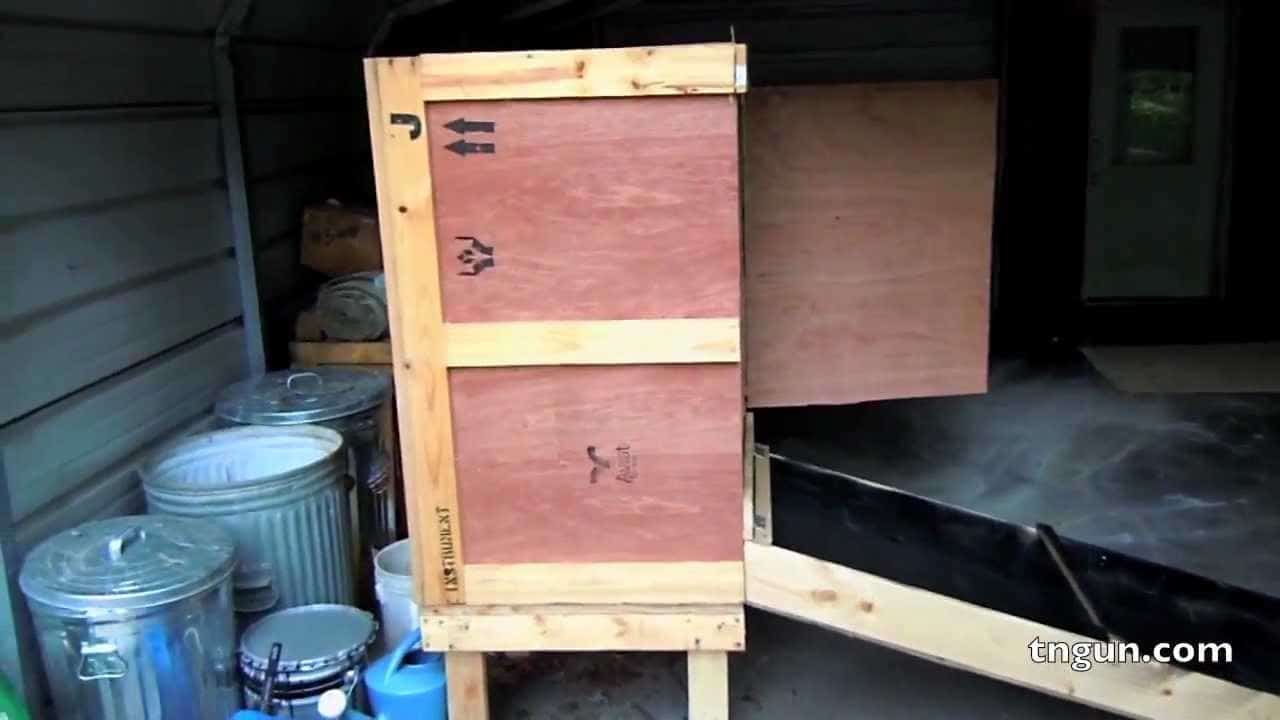
A large wooden shipping crate came from the trash and I decided to get to work.
*I later found a PDF entitled How to Build a Solar Crop Dryer that I believe this research was based on, I linked to it in my download section.
Building the Solar Dehydrator
Basically all I did was to cut a shipping crate to a manageable size, add a door, some legs and a few tray supports on the inside to make the drying cabinet. I will probably add some ventilation later once I know how much I need. I don’t want to cut a bunch of holes on the front end of the experiment as I don’t want to cut too many.
The next stage was to build the solar collector. My original idea was to use some glass scrounged from a storm door. Unfortunately, it was a couple inches too wide. (BTW you cannot cut storm door glass; it’s tempered and will shatter into thousands of pieces). But for an unnamed reason I ended up going with a large 24 x 60 piece of Plexiglass as the top of the collector. The sides and bottom end are 1×6 boards, and the underside is a piece of plywood I had left from my chicken coop shipping box project.
I cut the top end of the 1x6s at an angle (I did not measure the angle, just marked it as the angle it would take to lay flush against the drying cabinet with the bottom end of the collector sitting on the ground. This allows me to hinge the two pieces together so that the solar collector rests on the ground when in use, but folds up for storage. The inside of the collector is painted black to help absorb heat. I painted the outside white because I had white paint. I also cut some ventilation holes in the bottom end of the solar collector, as there will need to be airflow to remove the moisture out of the drying box.
The drying trays and screens for the air vents are aluminum screen. I simply made some frames out of strips of molding and stapled the screen tightly to the frames.
I still need to experiment with the correct drying times and amount of airflow needed, but the plan is to set this on the sunny side of my house, fill with vegetables and see how long it takes to turn them nice and dry.
Stay tuned, and I will add to this post as I learn more about my Solar Dehydrator….
