
We all know that nothing is free, especially food storage, finding foods that are cost effective, and long storing generally means you have less of the two V’s – Variety and Vitamins. Sprouting wheat and weans is a way to add both. I used to associate sprouts with homeopathic medicine practitioners, vegans, and yuppie soccer moms, but once I got over my initial prejudice I have learned that it’s simple and cheap to add sprouts to my food tool-box.
Sprouted Grains and Legumes are Healthy
Studies show that sprouts have 3 to 5 times the vitamin content of the seed they sprouted from. And as for Vitamin C, sprouts have over 30 times the vitamin C content of the original seed. Wheat grain sprouts have a lot of vitamins and also have a good amount of protein and enzymes. The great thing about wheat is that due to the enzyme actions in the seed as it sprouts, your body is much able to use the nutrients inside.
There are all sorts of recipes online for sprouts, and I would suggest you try a couple now and see how easy it is to incorporate sprouts into your everyday food. Personally, I like adding them to my salad, but my favorite way of using them is feeding them to my chickens and eating the eggs they produce….
How to use Sprouted Wheat
- Add either chopped or whole to homemade bread
- Add to oatmeal or other whole grain cereal
- Stir into cooked rice
- Added to rice pilaf.
- Kneaded into pizza dough.
- Chopped and added to cookies.
- Add to muffins, pancakes, waffles (Like our whole wheat pancakes)
- Mix in to casseroles, stuffed peppers, meatloaf, meatballs, pasta sauce, mushroom and sprout sauce.
- Add to sandwiches
- Sprinkled on yogurt.
- Sprinkled in salads.
- Stir fried
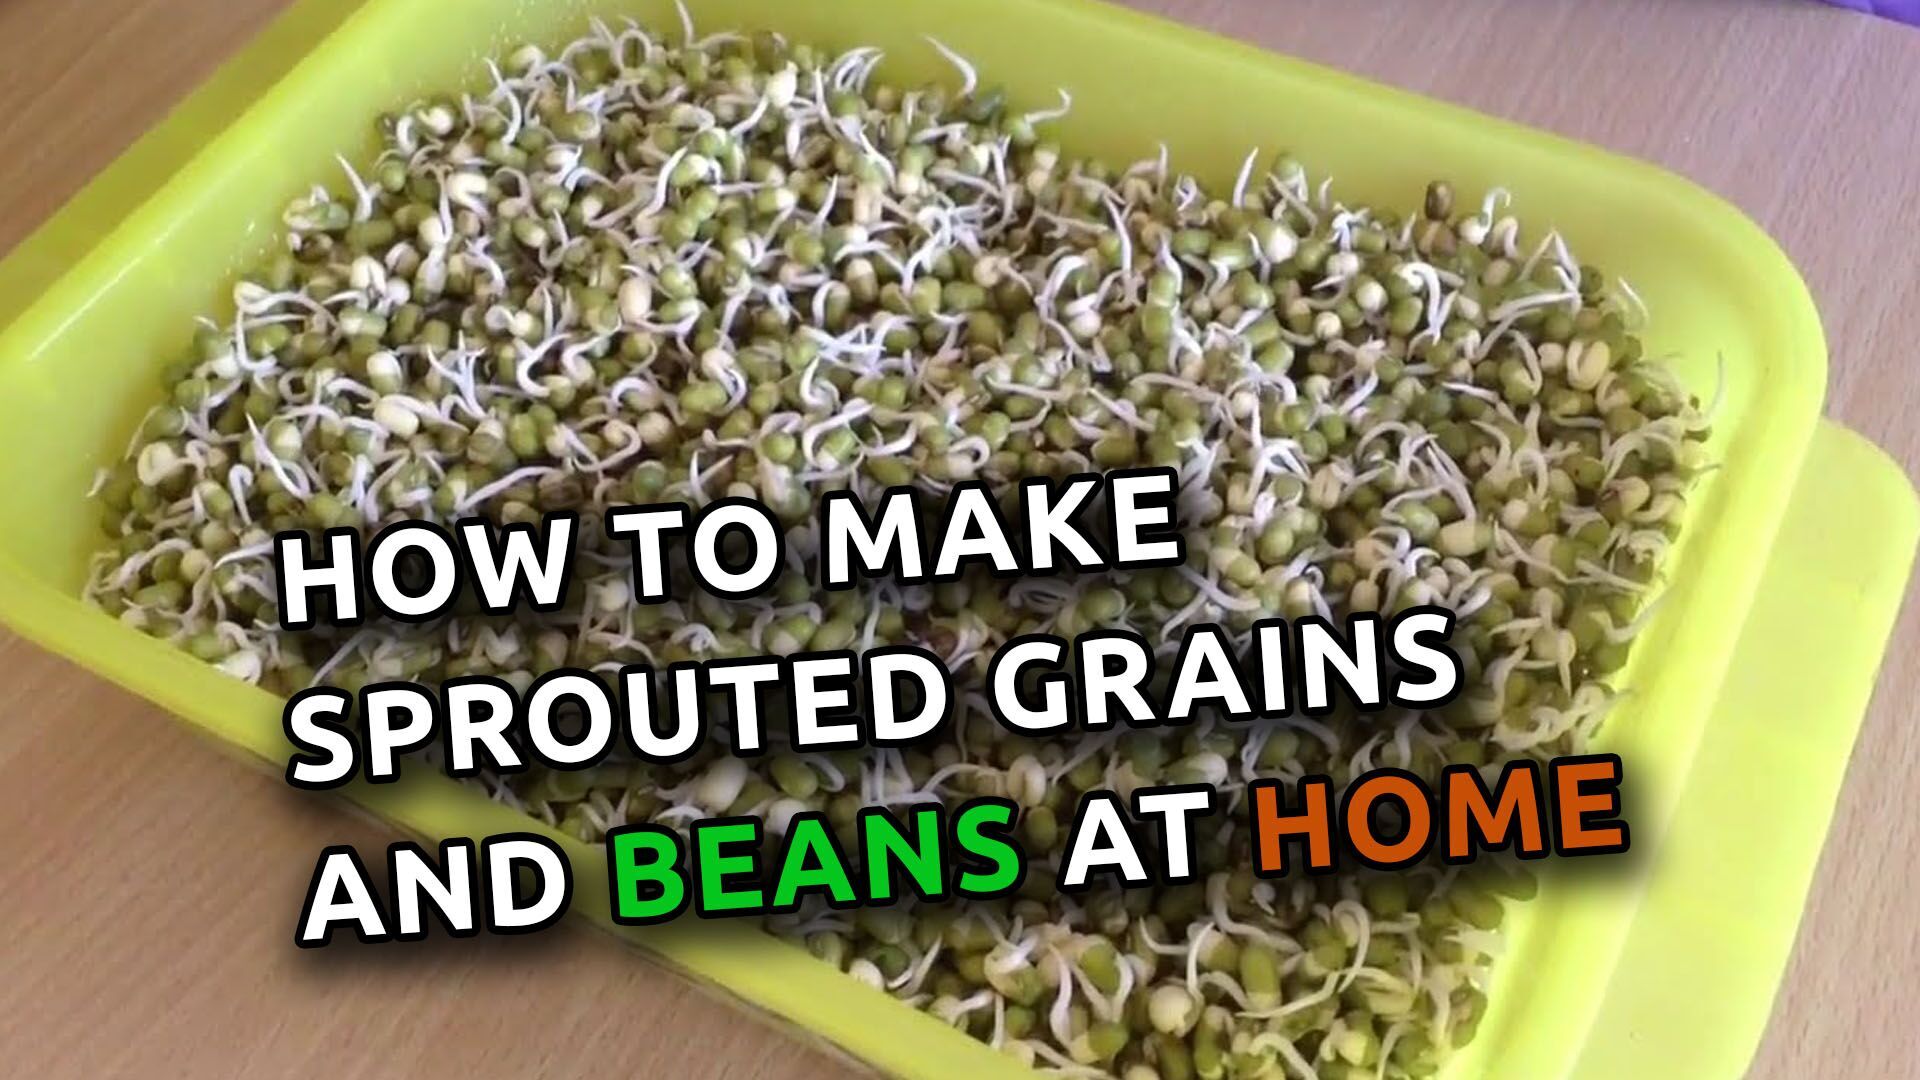
How to Make Sprouted Grains
Equipment:
- Wide Mouth Jar (or something similar)
- Nylon Net or Cheesecloth + Rubber band (to cover the jar & keep the cover in place)
Ingredients:
- 1/2 cup wheat berries
- Water
Directions:
- Rinse ½ cup of wheat berries.
- Put the wheat berries in a wide-mouth quart jar.
*Don’t put too many berries in the jar – no more than ½ cup per wide-mouth jar.
- Add 2 cups of room temperature water.
- Place nylon net or cheesecloth over the jar opening.
- Use a heavy rubber band or the metal jar ring to hold the nylon or cheesecloth in place.
- Soak 12 hours, then drain.
- Thoroughly drain the water – shake a bit to remove most of the water.
- Keep the jar out of direct sunlight.
- It needs the air, so keep cheesecloth as a lid.
- Each morning and night rinse the wheat berries with room temperature water, drain again. Taste after each soaking, Some keep the liquid drained off and drink it, I have done this, but I don’t very often, I don’t like the taste.
- 36 to 48 hours after the first soaking, Walla! You have germinated wheat or if you continue the process for a day or two more you have sprouted wheat.
Storing Wheat Sprouts
Replace the nylon net or cheesecloth with plastic wrap or the metal jar lid to help keep it moist but not wet. Store in cool place for no more than 5 days