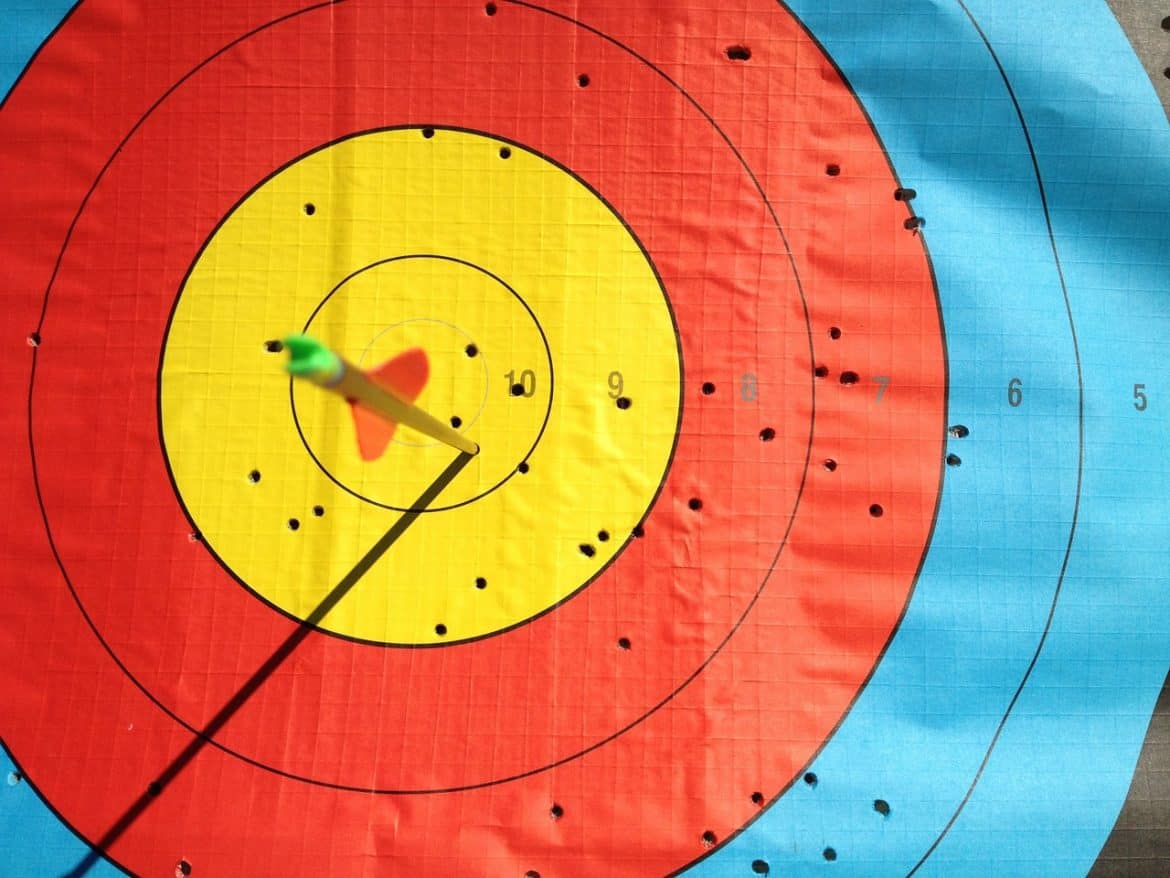

The state of absolute perfection is achieved by no Archer.
Many steps are involved in a complicated process and too many details to juggle during each shot.
Even archers with perfect coaching and perfect shooting form have to deal with the mental aspects of shooting a bow.
Using these Archery Tips you can be an expert in the most basic fundamentals of shooting form and understand the mental aspects.
Beyond that, the greater part of bow-shooting difficulties emanates from only five elements of the shot sequence.
Take them seriously, and they’ll provide an enhancement in bow-hunting accuracy.
Anchor Twice
A reliable anchor is the foundation of a perfectly executed shot. Anchoring creates the bases of the rear of the sighting system. With no solid anchor point, shots turn out to be unsteady and aiming is more difficult. This brings inconsistencies to your shooting.
The anchor point you choose is based on individual preferences and personal comfort. The anchor point should also be rooted in something static. Cheek, jawbones or teeth are quality anchor bases. They’re fixed and solid. Impressionable anchor bases such as lips, jowls and side burns are poor choices.
To take it one step further, an anchor point shouldn’t involve just one static point… but two static points. This gives you a two-point anchor making sure your shooting hand is placed “just so” for the duration of each and every shot. For instance, I snug my index-finger knuckle tightly into the divot behind my ear, and my thumb wraps around the lowermost point of my jawbone. Choose a method that works best for you.
A kisser button is another trick that performs the same function. It provides an added anchor and make sure your anchor schedule is consistent and repeatable. It assures your bow fits properly. A draw length that is too long can introduce a floating anchor. Get your drawing hand to the middle of your face, and adopt a dual-point anchoring system. Your anchor will become more consistent and your releases will be more controlled.
Watch That Bubble
Most quality bow sights comprise of an incorporated bubble level. Particularly for bow-hunters, levels help get rid of left-right misses, particularly from tree-stands or in broken topography. When shooting peep and sights, any deviations from vertical plumb makes the rest/arrow to swing left or right and send arrows off center. Canting a bow top-limb right—a familiar symptom for right-handed shooters—is instigated by loaded quivers. This causes arrows to miss the mark. The level acts as a reference, assuring each shot is launched consistently.
A fast developing shot opportunity may leave no time for a bubble check. This is why it’s imperative to instill these habits during practice. Check with the level before every shot. After some time, the correct feel will become second nature.
Haven said that, smart bow-hunters at least take a quick look at their bubble levels during challenging shots from tree-stands, in uneven terrain, or for ranges past 40 yards. Severely bending at the waist to address targets below you easily introduces a canted bow.
Fast-falling terrain can create the optical illusion of a level bow, when you’re actually tilting into the bow uphill. The longer the shot, the more deviations are compounded. It’s always worth the extra second to check your bubble. You don’t want to miss—or wound—a season-making animal due to a leaning bow.
Cradle It
A proper bow “grip” goes hand in hand with the bubble-level concept. Avoid the term “grip” in relation to holding the bow at full draw. The bow handle should never be gripped at all. Physically wrapping your hand around the handle to maneuver its attitude results in torque. Torque is the enemy of repeatable accuracy.
There’s a better approach: Put all your fingers together and hold them upright, as if offering your hand for a shake. Create a U with your thumb. Slide the bow handle into the U and allow it to cradle atop your fingers and thumb. You’re not holding the bow at all. Gravity does all the work. Come to full draw and turn your fingers slightly outward. This pushes the heel of your hand into the riser. The draw weight pushes down your solid skeletal structure so muscles remain relaxed. This allows a steadier sight picture and a more solid shooting platform.
There are two vital caveats: Your bow should sit up straight at rest and full draw without any manipulation on your part. This will need auditioning various stabilizers to determine the right feel. I find this is made easier by removing bow quivers and adopting a back quiver like Rancho Safari’s Catquiver line. Use the bow as engineered to be shot.
Take up a wrist sling and adjust it appropriately. The wrist sling eliminates the fear of dropping your bow on release or snatching at it during the shot in a subconscious attempt to avert losing control of it. Many leave their wrist slings loose to slip their hand in when hurried. But without definite support, the purpose of the wrist sling is largely overpowered. Adjust it to support the bow
Surprise Release
Punching the release trigger is a general mistake. An instance: The archer aims while the trigger finger is poised over the trigger, like a coiled snake. He then yanks the trigger when the proper pin sweeps into the bullseye. This leads to even bigger problems, such as shot nervousness and target panic.
If using an index-finger release, cut down the extension shank so the jaws hit the first joint of an open palm. At full draw, the trigger should hit the middle joint, instead of the sensitive tip. While triggering, use all fingers as a single unit.
This puts you in more control and allows you to squeeze more efficiently. Aim and allow your sight pin to float over the bullseye. Deliberately create a figure-8 if required. Continue to aim. Focus on allowing the pin to float and slowly increase trigger pressure until the arrow releases.
If trigger-punching habits are bad, ditch the index finger release and use a thumb-activated T-handle release. The shot sequence is the same. It allows the pin to float on the bullseye while aiming. But this time, cautiously wrap your thumb around the trigger barrel and pull into the draw to release the arrow.
You’re not physically squeezing the shot, but gradually pulling your shoulder blades together to amplify the pressure on the limbs against the cam’s draw stops. The draw pressure pulls the trigger barrel into your fixed thumb. This is a true, back-tension surprise release. This technique reduces anxiety and allows you to focus on aiming, and it will make you get a better shot.
Follow Through
The propensity is to jerk the bow down, watching arrows sail away, or basically allowing shooting form to fall apart once the release trigger is pulled. The problem is your timing can physically pull the shot off the mark. When shooting suffers, you usually get back on track by reminding yourself to concentrate on the follow-through. I keep on aiming until the arrow sinks into the target.
Follow-through involves strong concentration. It concentrates on keeping everything still once the shot cuts. It attempts to hold the pin on the bullseye until impact. Lastly, it requires mentally willing your arrow to go where you want it.
Pay Attention to the Tension on Your Draw Hand
This is one of the common problems we see in archers both with and without experience. Putting avoidable tension on your draw hand can lead to arthritis problems in the future. Even veteran archers can practice at length with archery bag targets and overlook this feeling during the rush of a good session.
To have a good release of your arrow, it’s very important that you relax your draw hand before the bow fires to break up the force created by the firing of the arrow. If your draw or even bow hand is tense, that tension will pushback against the force produced by the arrow which can cause the arrow to potentially jerk or rotate during the release.
In view of the fact that that can affect where the arrow will land, you want to stay away from that tension. Rather, you want to practice a clean and steady shot that you can repeat and that comes from a relaxed posture. If you aren’t sure how to start doing this, try concentrating exclusively on your thumb and forefinger. Usually, many people aim best near the start of their cycle than the end, so try not to focus on hitting the perfect shot when practicing this method.
As an alternative, focus on the movement of your elbow at the start of the draw and then the feeling in your thumb and forefinger during the aiming process. It’s recommended that you release your shot in about 5 seconds or less, or else you may find it difficult to continue to maintain the bow draw while also concentrating on relaxing your fingers.
Never Copy another Archer over Success – Find Out What Works For You
One more common issue occurs when archers spend a lot of time practicing together on the same range or see each other regularly in competition. One archer who is doing well time after time will see another individual struggling a little and offer some helpful advice. Or, the struggling archer – becoming more and more frustrated with their performance – will see a trick or particular bow accessory working well for another archer and feel like it’s compulsory for them.
While at times this can be very helpful, you should be careful with entirely changing your style or habits based on a short time frame of frustration or trouble. Everyone goes through ebbs and flows in their performance, and everyone’s background in archery and practice schedules are diverse. It’s worth exploring changes you can make to your routine or bow to improve your own performance – but make sure that process starts by figuring your own weaknesses and building on that – not just copying another archer seeing success.
This matters the most when discussing your stance and firing habits such as the length of time spent aiming. Every archer has a different physique and thus the force from the bow is handled differently by everyone. One archer may favor pushing the shoulder forward during setup, while another may be more contented just holding the shoulder naturally.
While of course there are unsafe practices and other forms that are discouraged, there are also many correct answers to problems around stance. All of the archers you train with may be comfortable with a completely closed stance, but that doesn’t mean it has to be mandatory for you. Try it for yourself at your local range and see what works for you.