
This article is about homemade foundry tools, most notably a crucible, a set of tongs, and a lifter.
If I am going to melt metal I am going to need a crucible and tools. While I wanted to buy a commercial crucible I did not want to spend the money on it and the tools to fit it. At least until I decided if this was something I was going to keep doing. Until I decide to invest in good tools I needed a cheap solution. I decided to make a cheap DIY crucible to last one or two casting sessions. This is just to see if I like casting metal.
Due to some of my experiments in filling 1lb propane tanks, I have some empty tanks. While cutting into them is dangerous, I decided to do just that. To mitigate the danger, I pulled out the safety valve, and dumped it in a bucket of water to try to displace any propane still in the tank.
I then very slowly drilled a couple holes in the top of the tank. No propane smell came out of the holes, but I still filled it with water and let it sit for 24 hours submerged in a bucket of water.
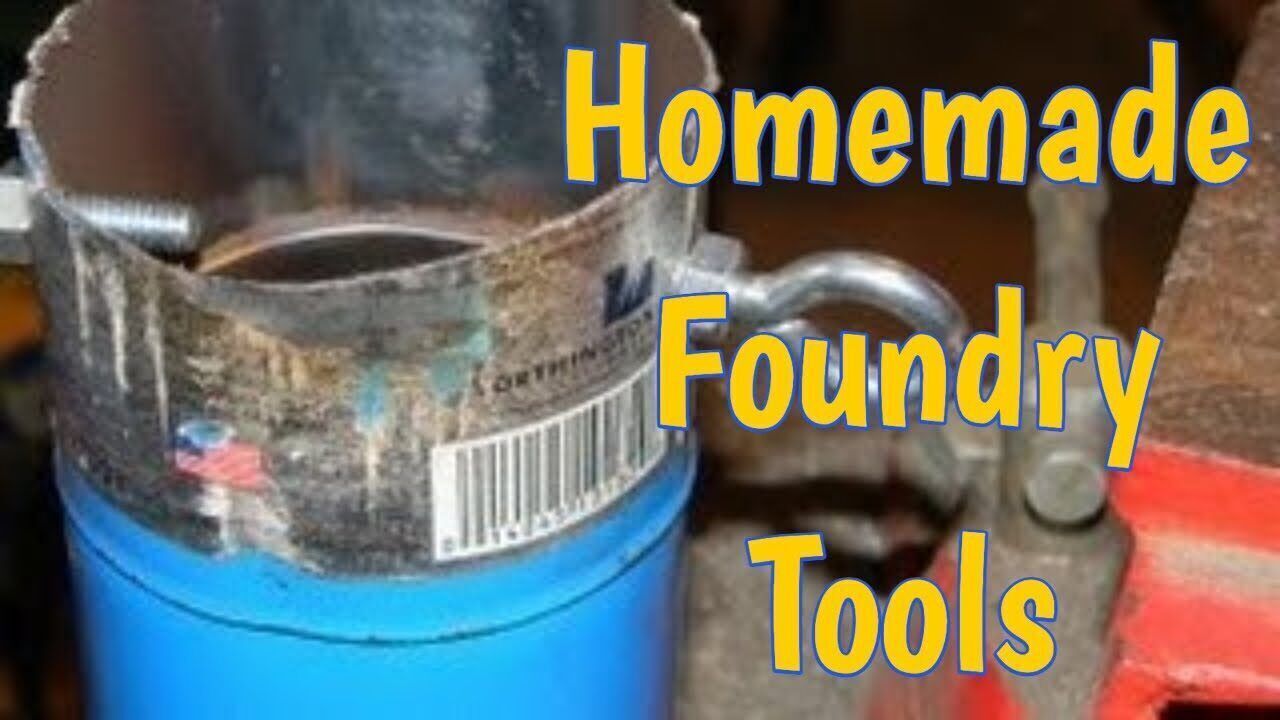
I then cut the top off of the tank, drilled two holes for eye hooks, and then heated the lip of the tank up to red hot and then wacked it with my hammer until I formed a pouring spout.
Simple DIY Crucible, but it Works
This is a very simple and rudimentary crucible. Due to the thin metal of the tank, I don’t expect it to last long. However, if I succeed in making something cool the first couple times, I bet the wife will sign off on me upgrading my equipment.
My main concern with using the propane tank is that the tank was brazed from two separate parts. I worry that when brought up to temperature, the brazing line will be the point of failure. Oh well I guess if that happens you will get another FAIL video…
DIY Crucible Tongs
As with all hot, sharp, pointy or other dangerous things common sense is more important to safety than common disclaimers. I am not going to tell you to not try this at home because;
- I am not a professional. Shoot, I am not even good enough to be an amateur. Mostly, I am playing and documenting what I am doing
- If your reading this then you probably have some desire to do this yourself and are looking for tips or ideas.
As a disclaimer I will only say that you are responsible for you. If you aren’t careful you can seriously mess yourself up.
Be Careful…
My first attempt at welding was also my first attempt at blacksmithing. I wanted something easy, but still relatively useful. So I decided to make was a set of DIY Crucible Tongs. My tongs are crude. They are too short. However, I made them out of a scrap target hanger I have carried around in my car trunk for the last 10 years. I think it’s a good trade.
If you want to get into this type of work, you will need some information, and so I will mention two books that have helped me immensely
The first is The Complete Modern Blacksmith this book is actually three books bound together, and I could kick myself as I found it after buying Weygers The Making of Tools.
The other book is Wayne Goddard’s $50 Knife Shop, Revised. The title suggests this is for knife making. However, the skills and tools listed work very well for a beginning blacksmith. Goddards small forge ideas are very inexpensive and work very well.
In The Complete Modern Blacksmith Weyger has an entire section devoted to making pliers and tongs. He also shows tooling to cut stronger hinges. For this first project I just wanted an excuse to try welding…
How to Make Tongs
First, I got a 3 foot ½ steel bar and some ¼ think inch wide strap, and a sheet metal screw as the working material. A steel cutting chop saw would have made the process much easier.
For tools I used a hacksaw, grinder, propane torch, blacksmith hammer, electric drill, vice, and my new flux core wire welder.
The process was simple is a little crude. I heated up a section of the bar about 6 inches from the end until it was glowing red hot. Next, I beat it until it widened and flattened itself to about ¼ inch thick. I repeated this process on the other end. This will become the hinge of the tongs.
Once that was done, I heated a spot right above the flattened area until it was red hot. Next, I placed the end of the bar in the vice and bent the bar at the heated area about 45º.
I then heated another section about 4 inches from the end of the bar stock and bent it at another 45º degree angle. This makes the working end of the tongs. I then copied this same procedure at the other end of the piece of steel.
Steps after the “Blacksmithing” Portion
Once the “smithing” was done, I cut the piece in half with a hacksaw. Unfortunately I noticed that the pipe that was already welded at the center of my original piece of metal would be in the way once my tongs were assembled. This was because I did not account for it when I originally flattened out my hinge.
No problem though. I put the flattened end into the vice, and heated up the bar until it glowed. Then I just twisted the entire bar until the pipe was aligned to my satisfaction.
I had thought this would leave a decorative twist. Unfortunately, you cannot tell the bar was twisted. I should have shaped the round bar into a square first…
Next I drilled a small hole into the center of each flattened area. I then pushed a small bolt into the hole connecting the two pieces. Next, I heated the end until it was red-hot. I then riveted the pieces together by beating the screw end until it rounded off. Later I spot welded this end to the steel stock as I did not trust my first attempt at riveting.
Testing the Tongs
I tried the action of the tongs, and was pleasantly surprised t how smooth they opened and closed.
The last step was to cut two approximately 6 inch long pieces of strap heat them and then pound them on the vice until they took a roughly rounded shape to fit around my crucible.
Once the pieces were cut and shaped I clamped the tongs into the vice and then welded one strap to each leg of the tongs. My welds were the ugliest part of this ugly tool, and I promised myself that the next tool I buy is going to be an auto darkening welding helmet as I blindly groped around until I could spark and ark and actually see something…
This set of tongs is for pulling the crucible out of the furnace, and of the two tongs I must build this one will hold the crucible for the shortest period. I need to make another (longer and stronger) set of tongs to grip the crucible from the side rather than the top so that I can pour the metal. The principle will be the same, but the stock will be longer, and the holding straps will run parallel to the tongs rather than offset 90º
DIY Crucible Lifter
My tongs were just a proof of concept; I don’t want my knuckles that close to the molten metal, because even with gloves, the heat is enough to damage my tender hands.
After playing around, I decided that while my tongs were strong enough to manipulate the weights of the crucible and metal at the short distance, I did not trust them to hold the same amount of weight 5 or 6 feet away. The farther away you hold things the effect of leverage makes them seem to weigh more, so I decided to look into a new way of holding the crucible.
How I made the Crucible Lifter
Since I had installed eye bolts on the crucible, I decided on a double hook system. What I did was heat the end of a rod and bend it around a steel mandrel (a larger piece of rod) to form a hook. I then kept using the one brick forge to heat sections of the rod so that I could bend them until I had turned my 5 ft length of ½ rod into a two tongued fork, with each tine of the fork sporting a hook.
Next then welded (well I used a welder, my welds are still horrendous) a 5 ft length of rod to the fork to extend the hot crucible out away from my body.
I wanted to test my contraption before I trusted it with 6 pounds of 1200 degree molten metal, so I filled the crucible up with lead ingots and placed it on the floor to see if I could pick up and dump it easily with my tools.
The hooks were strong enough and spaced appropriately, but the smooth rod handle was causing me problems, so I welded an l shaped rod section in the middle of the extension, and curved down the last 6 inches or so of the rod to give me two grips. This made the tongs much easier to manipulate.
You Also Need a Way To Pour
To actually pour the metal, I made a metal shepherd’s hook out of flat bar and another 5 ft rod. The idea is to hook the crucible and lift it out of the furnace and carry it over to the molds, and then use my free hand to hook the base of the crucible with the shepherd’s hook, and pull back. This will cause the crucible to rotate on the eye hooks and pour out the metal.
This works pretty good in practice, and hopefully soon I will get to see if it works in real life.I have my foundry, my crucible, and my tools, now I build a wooden mold for casting metal. This mold is called a flask. The wooden flask is used to hold the sand and the pattern that will make the casting.
How I Built My Wooden Mold Flask
All I did was take an 8ft 1×6 and cut it into 8 1 foot sections. I then chiseled out a groove down the length of each section. When assembled, this groove is inside the box, and gives the green sand something to grip. Otherwise, it may drop out of your form.
Once the groove was cut, I then glued and nailed 4 of the boards together to form an open ended box. I repeated this with the last four sections. Now I have two open ended boxes to use to create my molds.
I then had to make some sort of locking device to insure that the mold halves line up. The Drag (or bottom box) has to fit in perfect alignment with the Cope (top box) or the casting won’t be accurate.
A ½ board was ripped down the center at a 45 degree angle and the two pieces were cut into 4 sections. One two sides (adjoining corners) one piece of the 45 was screwed into the cope pointing up. On the other two sides on piece of the board was screwed into the cope with the 45 angle pointing down. On the drag, the boards were attached to mate with their sisters on the cope. This way the angles will mate, and with the two sides reversed, the cope and drag will only fit flush one way. If this sounds confusing please watch the video, as it is a very simple idea.
All I have to do now is make some green sand for molding and then fire up the foundry